
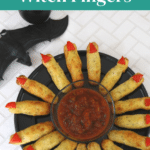
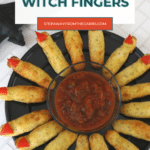
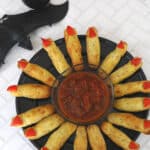
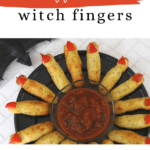
These Halloween witch fingers are cheesy, garlicky breadsticks shaped like creepy knuckled fingers, with bright red bell pepper "nails." They're made from fathead dough, so they're low carb, gluten free and keto friendly, and they're one of the easiest spooky snacks you can put on a Halloween table.
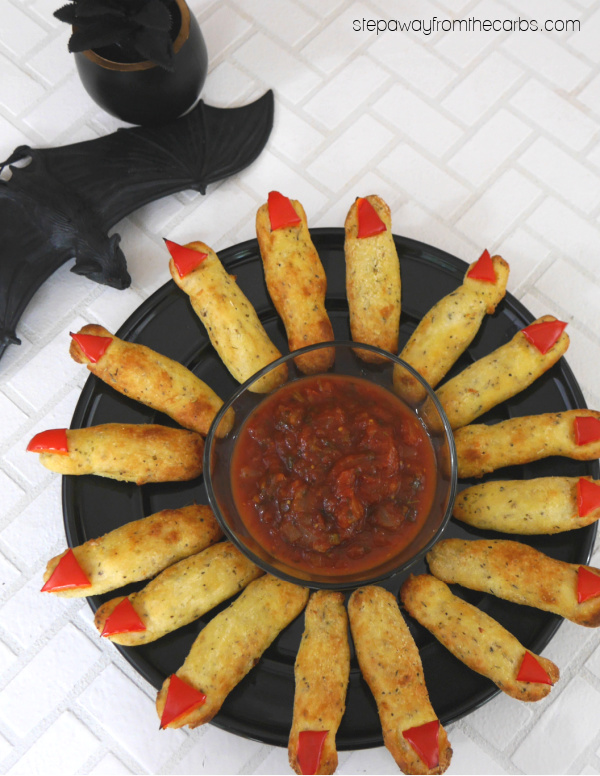
If you're like me and LOVE Halloween, you'll also love these witch's fingers! They're made from fathead dough, with added seasonings like garlic and herbs, so they taste like a really good garlic breadstick. If you haven't tried fathead dough yet, read all about it in my guide. Once the dough is made, it's rolled into "fingers" and topped with a bright red fingernail made from red bell pepper. These spooky snacks are actually pretty quick to prepare, and kids love helping to shape them.
Key Ingredients & Substitutions
- Shredded mozzarella. This is the base of fathead dough, and it's what makes the fingers chewy and bready. Use low-moisture, part-skim or whole-milk mozzarella from a bag; fresh mozzarella is too wet and makes a sticky dough.
- Cream cheese. A couple of tablespoons makes the melted cheese smoother and easier to mix. Full-fat block cream cheese works best. In a pinch you can leave it out, but the dough will be a little stiffer.
- Almond flour. Use finely ground, blanched almond flour, not almond meal, for the smoothest fingers. Keep a little extra on hand for dusting if the dough gets sticky.
- Egg. Binds the dough so the fingers hold their shape in the oven. Beat it before adding so it mixes in evenly.
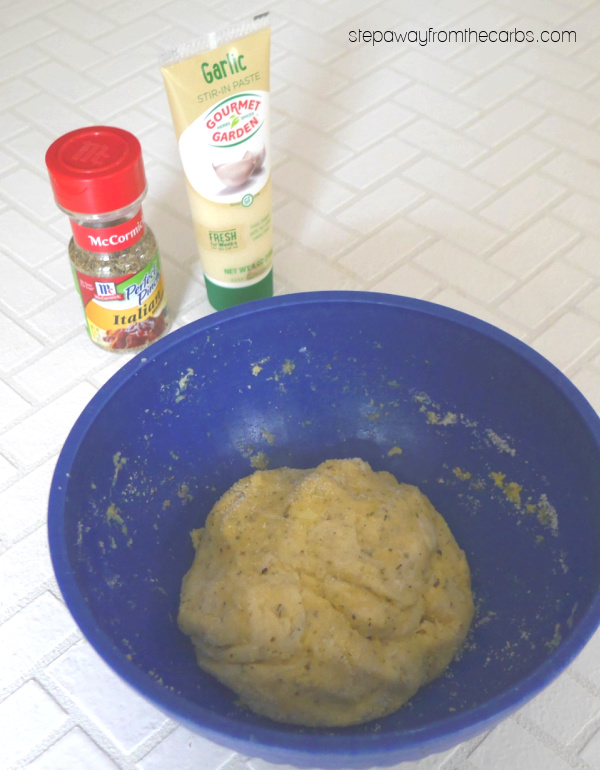
- Italian seasoning and garlic paste. These turn plain fathead dough into a savory breadstick. A jar of Italian seasoning and a tube of garlic paste make it quick; one clove of finely grated fresh garlic or ½ teaspoon garlic powder works too.
- Red bell pepper. This makes the creepy red fingernails. It's low in carbs, holds its color in the oven and has just the right bright, glossy look.
How to Shape Creepy Witch Fingers and Nails
Make the fathead dough as normal, but when you add the almond flour and egg, add the garlic paste and Italian seasoning too. Knead until the dough is smooth and fully combined.
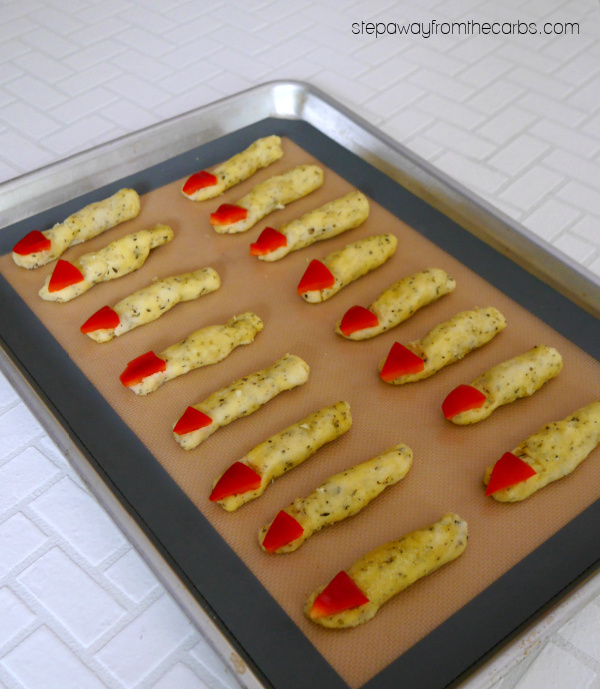
Step 1: Roll the fingers. Divide the dough into 16 equal pieces and roll each one into a log about 3 to 4 inches long, a little thinner at one end (the fingertip) than the other. Place them on a baking sheet lined with a silicone baking mat or parchment paper. They really don't have to be uniform or perfect - they are witch's fingers after all!
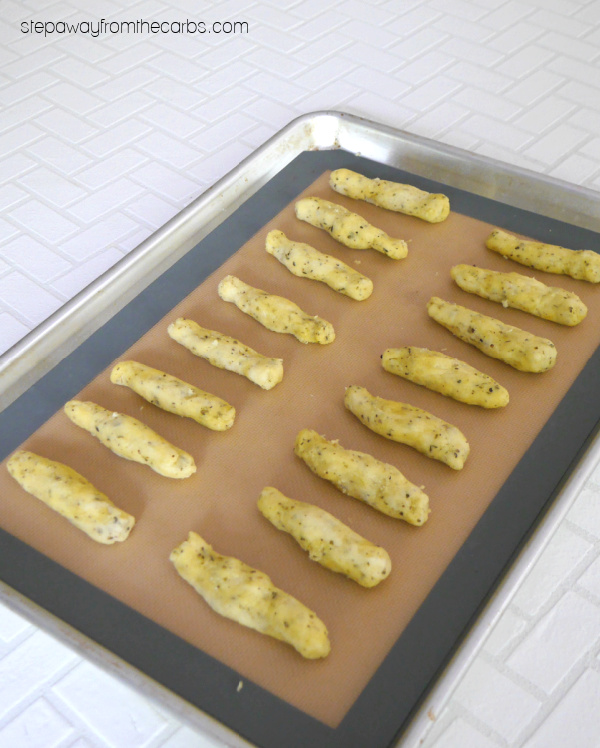
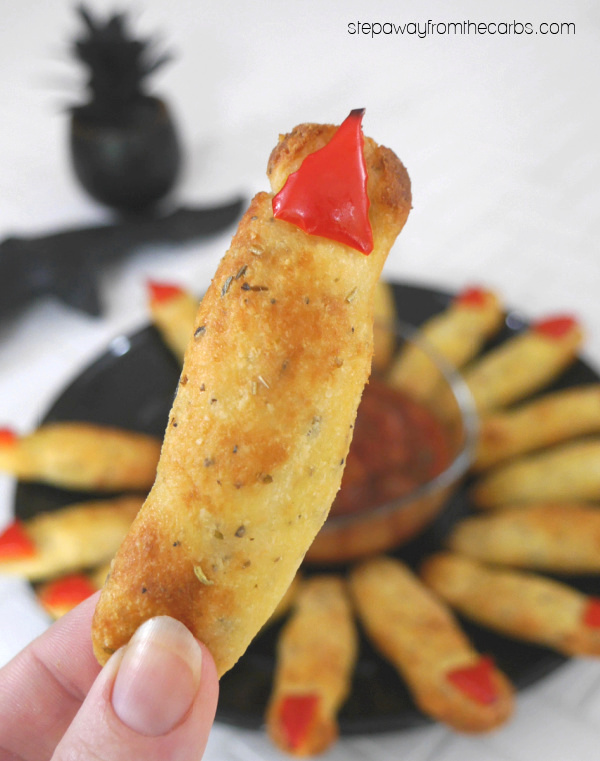
Step 2: Add the knuckles. This is the part that makes them look creepy. Gently pinch each log in two places, about a third and two thirds of the way along, so it bulges slightly in between like knuckle joints. Then use the back of a butter knife to press two or three thin, shallow lines across each knuckle for wrinkles. Bend a few of the fingers slightly so they look gnarled rather than straight.
Step 3: Cut and press in the nails. Halve a red bell pepper, remove the seeds from one half (keep the other half for another recipe), and cut it into 16 small triangles or pointed ovals, roughly the width of the fingertip. Press your fingertip into the thin end of each log to make a small dent, then push a piece of pepper into it, skin side up. The dent helps the nail stay put as the dough puffs in the oven.
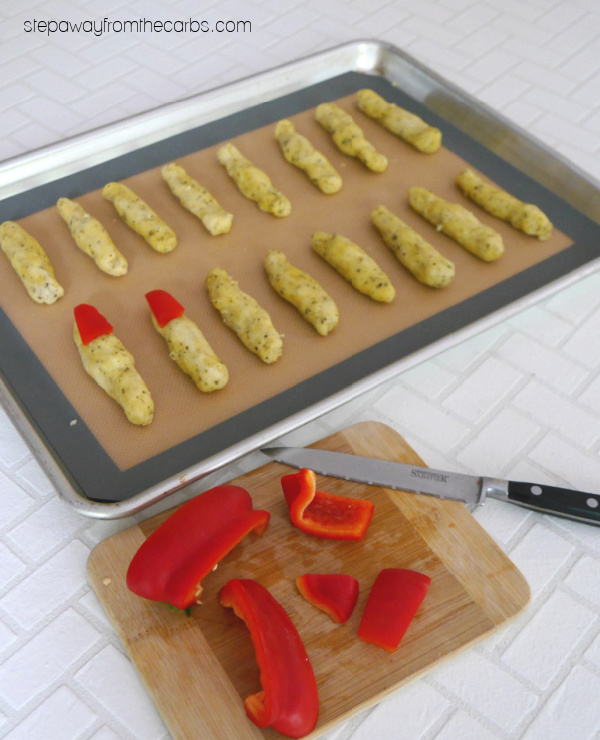
They look pretty good even when raw! Bake them in a preheated 400°F oven for 10 to 12 minutes, until they're golden brown at the edges, and let them cool for a few minutes on the tray so they firm up before you move them.
Helpful Tips
Work with the dough while it's warm. Fathead dough is easiest to knead and roll while the cheese is still warm and soft. If it stiffens up before you've shaped all the fingers, microwave it for 10 to 15 seconds and it'll be pliable again.
Oil your hands, not the dough. A tiny bit of olive oil on your palms stops the dough from sticking while you roll the logs, and it doesn't make the dough greasy the way extra flour can make it dry.
Keep the fingers thin. The dough puffs up a little as it bakes, so roll the logs slightly thinner than you want them to end up. Thin fingers also bake more evenly and get crispier edges.
Watch them at the end. Ovens vary, and the cheese can go from golden to too dark quickly. Start checking at 10 minutes and pull them out as soon as the edges are browned.
Variations
- Almond fingernails. Press a sliced almond onto each fingertip instead of red pepper for a classic, bony-looking nail.
- Bloody tips. Dip the tips of the baked fingers in a little no-sugar-added marinara or low carb roasted red pepper sauce right before serving for a gory look.
- Cheesy fingers. Knead ¼ cup of finely grated parmesan into the dough for extra flavor and a crispier crust.
- Pizza fingers. Swap the Italian seasoning for dried oregano and knead in some finely chopped pepperoni.
- Green witch fingers. Knead a spoonful of basil pesto into the dough for a greenish, extra-witchy tint.
- Spicy fingers. Add a pinch of red pepper flakes or cayenne to the dough for grown-up party guests.
Serving Ideas: Build a Halloween Party Board
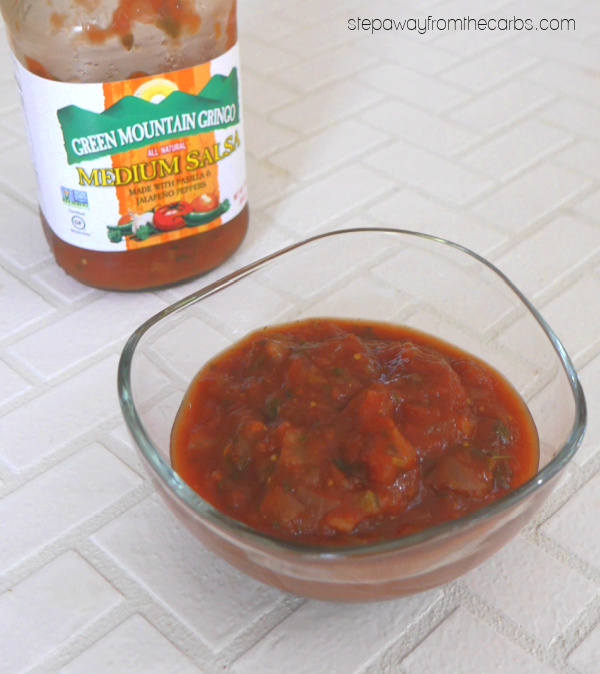
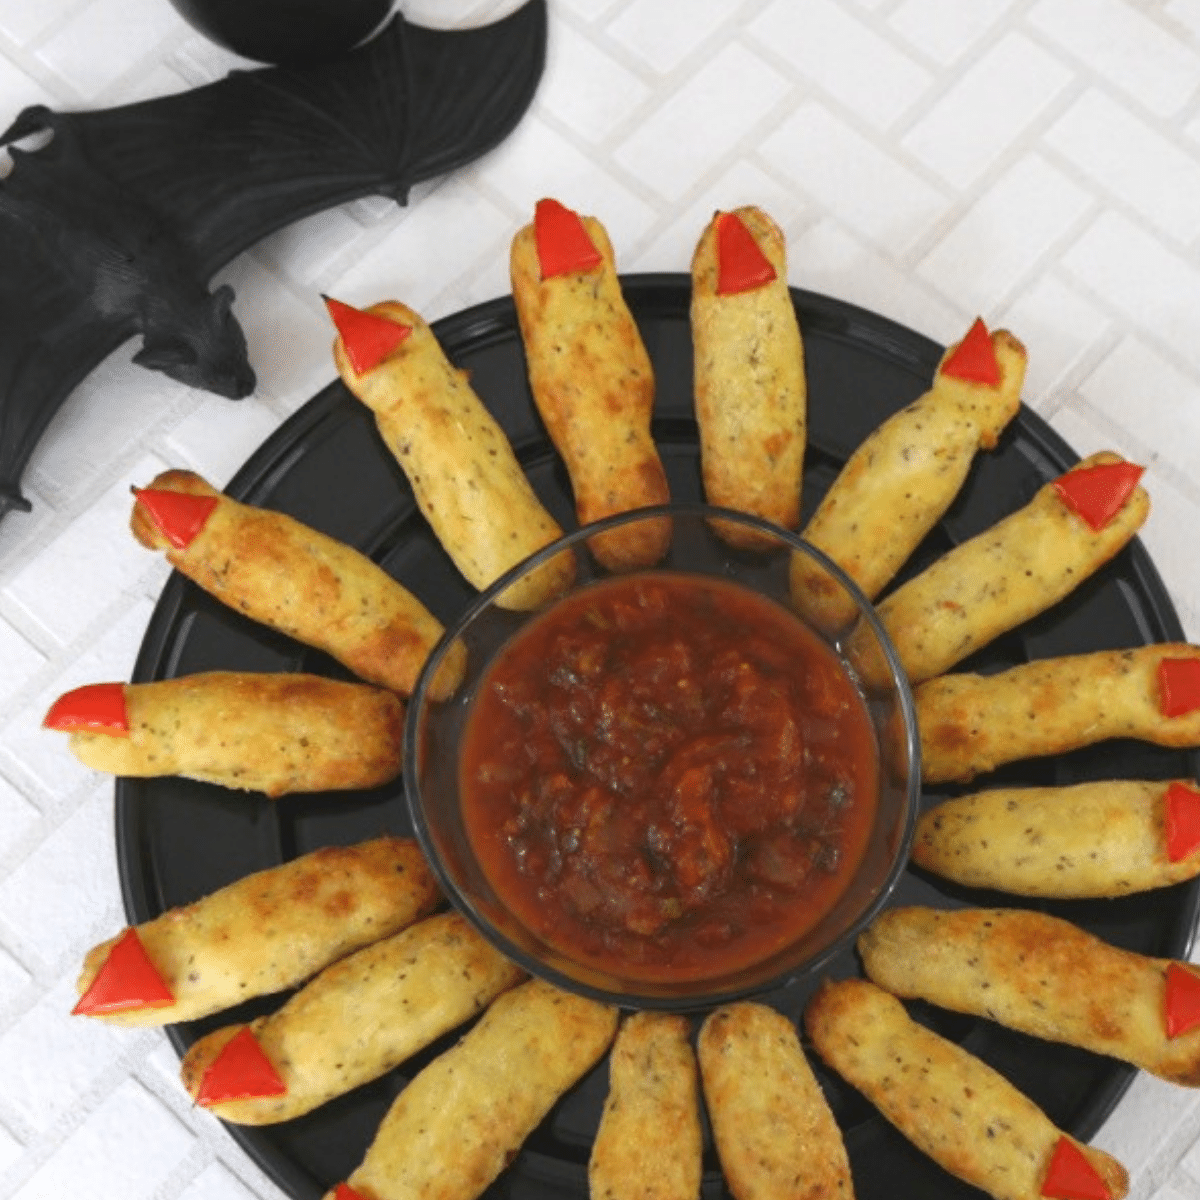
Witch fingers are made for dipping. Arrange them in a circle around a bowl of low carb salsa or marinara so they look like they're reaching into the dip. I love Green Mountain Gringo salsa - available from Amazon in mild, medium, or hot - and it's only 2g net carbs per serving of two tablespoons!
For a bigger spread, make them the centerpiece of a Halloween party board. Start with a large dark board or platter, set the bowl of dip in the middle, and fan the witch fingers around it. Fill the gaps with cheese cubes, salami, mini mozzarella balls topped with a slice of black olive (instant "eyeballs"), celery and cucumber sticks, and a handful of roasted pumpkin seeds. Add a few Halloween Spider Deviled Eggs and some Low Carb Mummy Hot Dogs and you've got a whole low carb Halloween party on one board.
Your guests will love these fun breadsticks, kids as well as adults, and nobody will guess they're low carb.
Make-Ahead & Storing
Make ahead: You can shape the fingers, add the nails, cover the tray and refrigerate them for up to 24 hours before baking. Bake straight from the fridge, adding a minute or two to the baking time. You can also bake them earlier in the day and reheat them just before the party.
Refrigerator: Store leftover witch fingers in an airtight container in the fridge for up to 4 days. Warm them in the microwave for 15 to 20 seconds, or in a 350°F oven or air fryer for 3 to 5 minutes if you'd like them crispy again.
Freezer: Freeze the baked, cooled fingers in a single layer on a tray, then transfer them to a freezer bag and freeze for up to 2 months. Reheat from frozen in a 350°F oven for 6 to 8 minutes. The pepper nails soften a little after freezing, so for the best look, freeze them without nails and press fresh pepper pieces on before reheating.
More Low Carb Halloween Recipes
If you loved these witch fingers, here are a few more spooky low carb treats for your party:
- Keto Halloween Snack Tray
- Halloween Breadstick Bones (Low Carb)
- Low Carb Monster Bites - a Halloween appetizer!
- Low Carb Halloween Recipes
📖 Recipe
Halloween Witch Fingers
Ingredients
Equipment
Step-by-Step Instructions
- Preheat the oven to 400F (200C) and line a baking sheet with a silicone baking mat or parchment paper.
- Place the mozzarella and cream cheese in a medium microwave-safe bowl. Microwave for 1 minute, stir, then microwave for another 30 seconds until fully melted.
- Stir in the almond flour, beaten egg, Italian seasoning and garlic paste. Knead until smooth. If the dough is too sticky, knead in a little extra almond flour; if it stiffens, microwave for 10 to 15 seconds.
- Divide the dough into 16 equal pieces. Roll each one into a finger-sized log about 3 to 4 inches long, slightly thinner at one end, and place on the lined baking sheet.
- Pinch each log gently in two places to make knuckles, then press two or three shallow lines across each knuckle with the back of a butter knife. Bend a few fingers slightly so they look gnarled.
- Cut the red pepper half into 16 small triangles. Press a small dent into the thin end of each finger with your fingertip, then push a piece of pepper into it, skin side up, to make the nail.
- Bake for 10 to 12 minutes, until golden brown at the edges. Cool on the tray for a few minutes to firm up.
- Serve warm with low carb salsa or marinara for dipping.
Nutrition
Notes
Tried this recipe?
Let us know how it was!Nutritional information is provided as a courtesy and is my best approximation. Net carbs are calculated as the total grams carbs minus the total grams of fiber.
Comments
No Comments